In recent years, drone building has captivated hobbyists and professionals alike, transforming the way people approach technology and creativity. With advancements in materials and software, constructing a drone has become more accessible than ever, allowing enthusiasts to customize their flying machines to suit their specific needs. Whether for aerial photography, racing, or simply for the joy of flight, the possibilities are endless.
As interest in drone technology continues to soar, understanding the fundamentals of drone building is essential. From selecting the right components to mastering assembly techniques, aspiring builders can unlock a world of innovation and exploration. This guide will delve into the essential steps and tips for creating a drone that meets individual goals and expectations, empowering builders to take to the skies with confidence.
Overview of Drone Building
Drone building combines knowledge, creativity, and technical skills. Builders select components tailored to their specific needs, from frames to motors and controllers. Understanding these elements ensures optimal performance and functionality.
Key Components
- Frame: The drone frame acts as the structural foundation, influencing weight and durability. Common materials include carbon fiber and plastic, providing various benefits such as lightness and strength.
- Motors: Brushless motors offer higher efficiency and longer life compared to brushed options. Selecting the right motors affects flight speed and maneuverability.
- Propellers: Propellers vary in size and pitch, impacting lift and flight characteristics. Choosing the right propeller enhances overall stability and responsiveness.
- Flight Controller: The flight controller regulates drone functions, including stabilization and navigation. Advanced models incorporate GPS and altitude hold features for improved performance.
- Battery: Lithium Polymer (LiPo) batteries supply power. Selecting the correct capacity and discharge rate influences flight time and overall drone performance.
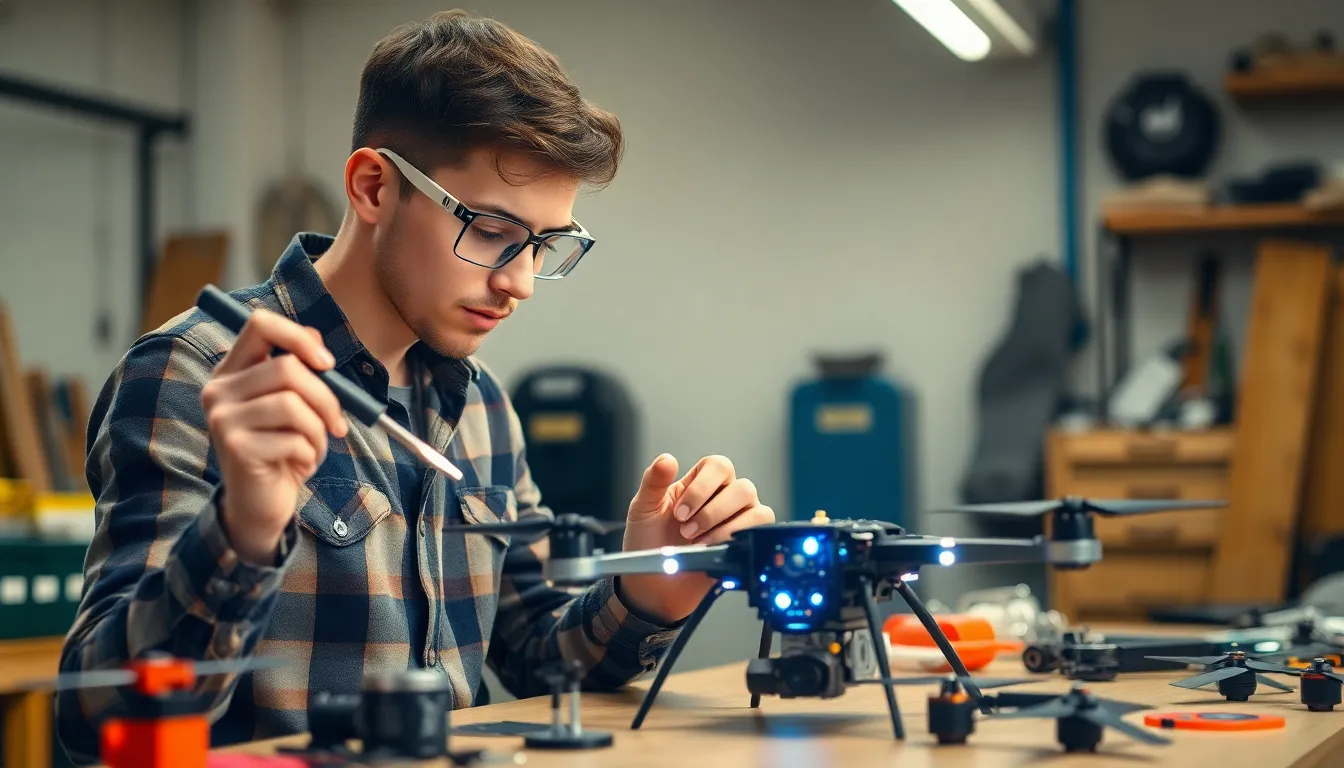
Assembly Techniques
- Wiring: Ensure that wiring is neat and secure to avoid short circuits. Proper soldering techniques and connectors enhance durability.
- Calibration: Calibration includes setting up the flight controller to ensure stable flight. Following manufacturer guidelines ensures the drone performs as intended.
- Testing: Conducting pre-flight checks confirms all components function correctly. Regular testing allows builders to troubleshoot issues and adjust settings as necessary.
Drone building encourages exploration and innovation. By mastering fundamentals and mastering assembly techniques, builders can create drones tailored for various applications.
Tools and Materials Needed
Building a drone requires a specific set of tools and materials to ensure effective construction. The right supplies can significantly enhance the building experience and outcome.
Essential Tools
- Soldering Iron: A soldering iron is crucial for making secure connections between electronic components. It’s essential for attaching wires to the flight controller and other parts.
- Multimeter: A multimeter measures voltage, current, and resistance. This tool checks connections and diagnoses electrical issues efficiently.
- Screwdriver Set: A set of screwdrivers, including Phillips and flathead, is necessary for securing components to the drone frame.
- Propeller Balancer: A propeller balancer ensures balanced propellers, enhancing flight stability and performance.
- Heat Shrink Tubing: Heat shrink tubing protects soldered connections from damage and prevents short circuits.
- Battery Charger: A compatible battery charger is vital for replenishing drone batteries. Opt for a smart charger for better battery management.
Recommended Materials
- Frame: Choose a lightweight yet durable frame made of materials like carbon fiber or plastic for optimal performance.
- Motors: Select brushless motors that suit the drone’s intended use. High-thrust motors are ideal for racing, while lower-thrust options work well for photography.
- Propellers: Use propellers that match the motor specifications. Common sizes range from 5 inches to 12 inches, depending on drone size and use case.
- Flight Controller: A reliable flight controller stabilizes the drone during flight. Look for controllers with GPS functionality if aerial navigation is needed.
- Battery: Lithium Polymer (LiPo) batteries are commonly used in drones. Choose a battery with adequate capacity for flight time, typically between 1500mAh and 5000mAh.
- Receiver and Transmitter: A compatible receiver and transmitter system are necessary for remote control and communication. 4-channel systems serve basic needs, while more channels offer advanced controls.
- Camera (Optional): For aerial photography, select a lightweight camera compatible with drone frame specifications. Popular options include GoPro and DJI cameras.
By gathering these tools and materials, builders position themselves for a successful drone construction process.
Step-by-Step Guide to Building a Drone
Building a drone involves a series of methodical steps, from design to assembly and finally testing. This guide covers essential aspects of each phase.
Designing Your Drone
Designing a drone begins with defining its purpose. Aerial photography drones require stability and payload capacity, while racing drones focus on speed and agility.
- Select a Frame: Choose a frame size based on intended use. Smaller frames improve maneuverability; larger frames provide stability.
- Determine Motor Specifications: Match motor size to frame weight. Higher thrust motors work well for heavier drones.
- Match Propellers: Select propellers based on motor specifications and desired flight characteristics, such as speed or efficiency.
- Choose a Flight Controller: Opt for a flight controller compatible with features like GPS or autopilot for advanced functionality.
- Calculate Battery Needs: Determine battery capacity and voltage to ensure adequate flight time and performance.
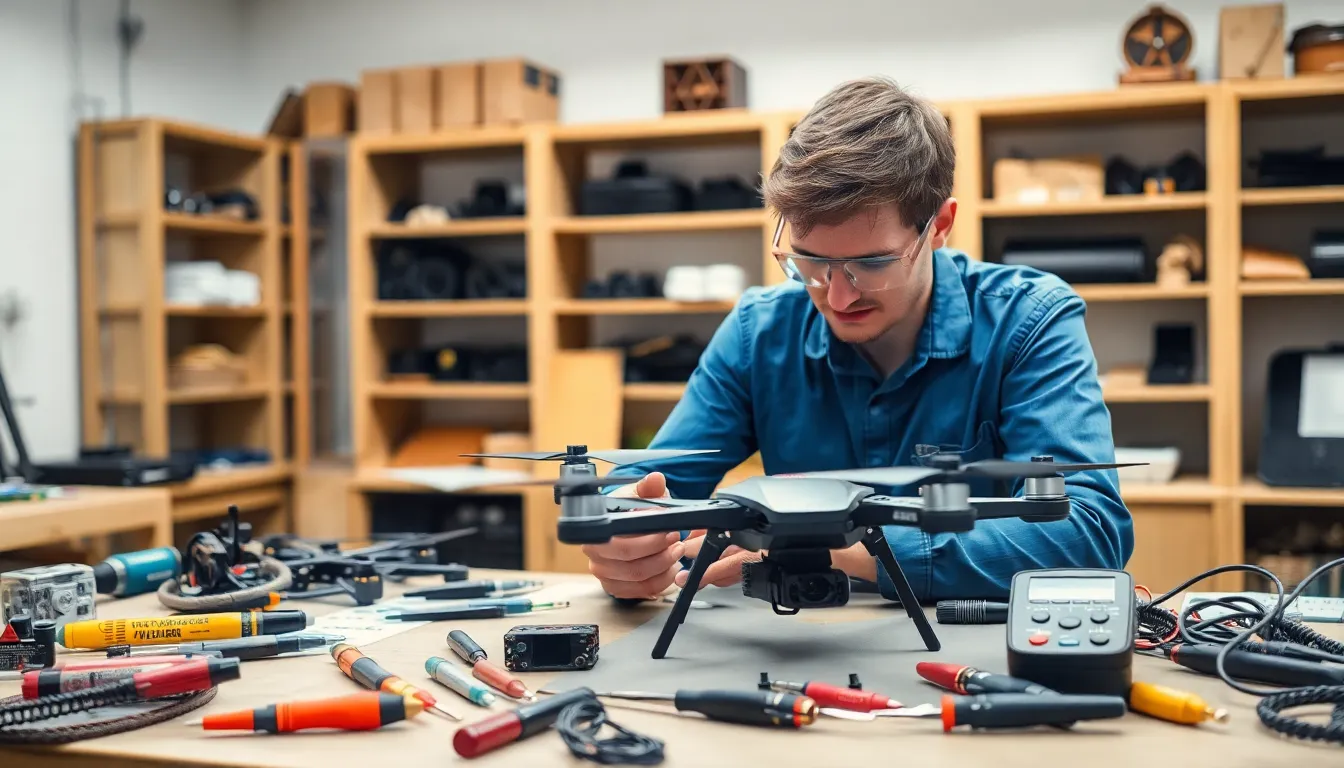
Assembling Components
Assembly requires careful attention to detail, ensuring components integrate seamlessly.
- Install Motors: Secure the motors to the frame using screws. Check for proper orientation to maximize thrust.
- Connect Flight Controller: Position the flight controller at the center of the frame. Use compatible wiring to connect it to motors and receivers.
- Attach Propellers: Fasten propellers to motors ensuring they spin in the correct direction. Double-check for tight connections.
- Wire the Battery: Connect the battery to the flight controller while ensuring polarity is correct. Use heat shrink tubing for added protection.
- Calibration and Firmware: Update and calibrate the flight controller firmware using the manufacturer’s software. Adjust settings for optimal performance.
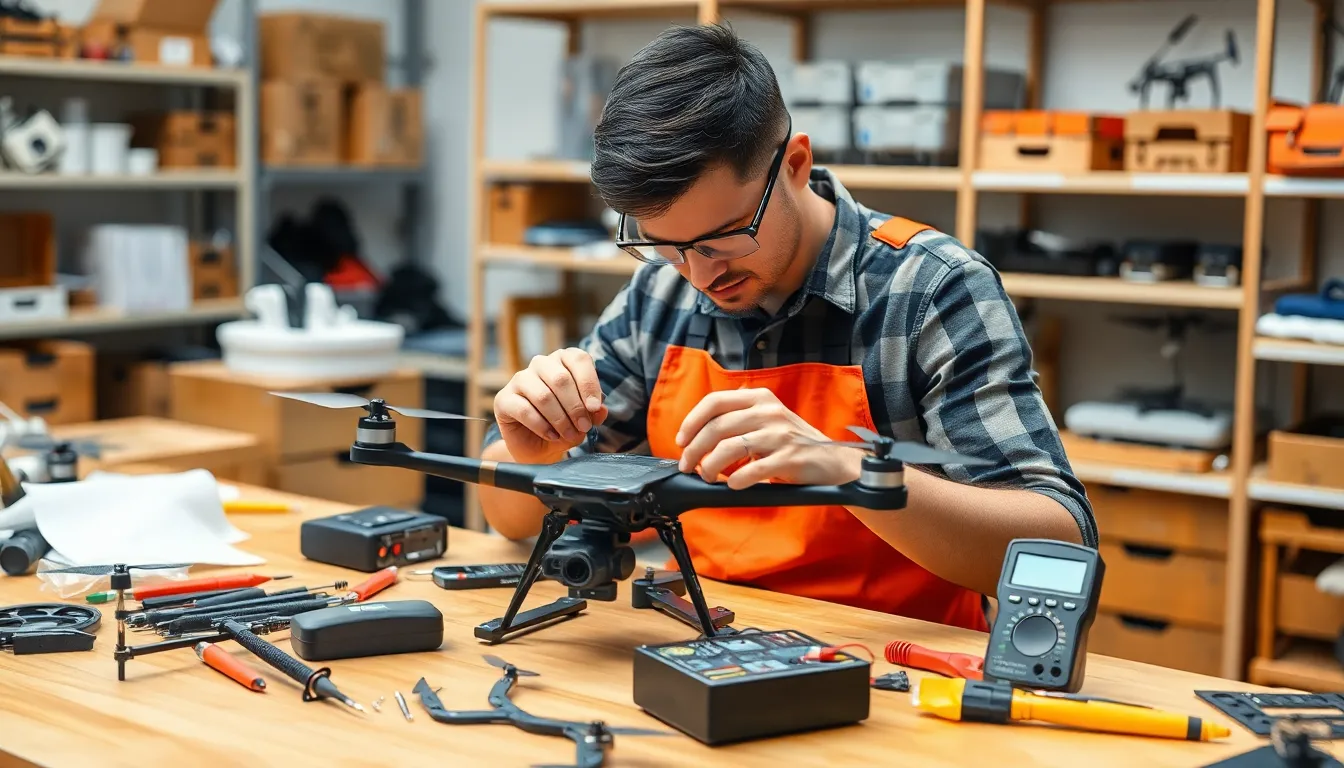
Testing and Troubleshooting
Testing the drone ensures that all components function correctly and the craft is ready for flight.
- Conduct Pre-Flight Checks: Inspect all connections and components. Verify that sensors, motors, and propellers are operational.
- Perform Throttle Test: Gradually increase throttle to ensure motor response. Listen for unusual sounds indicating issues.
- Test Flight: Conduct a short flight outdoors, monitoring stability and responsiveness. Adjust settings if needed based on flight performance.
- Troubleshoot Problems: Identify any issues experienced during testing, such as loss of control or battery failure. Refer to the manufacturer’s troubleshooting guidelines for solutions.
- Make Adjustments: Modify component settings, re-calibrate the flight controller, or replace faulty components to enhance performance.
Following these steps leads to the creation of a well-functioning drone tailored to specific needs and expectations.
Advanced Techniques in Drone Building
Advanced techniques in drone building enhance performance and personalize user experience. Builders can explore customization and technology integration for optimized drones.
Customizing Your Drone
Customizing a drone involves selecting components according to specific needs and preferences. Choosing frames that cater to various purposes, such as racing or photography, influences flight characteristics. Builders can opt for lightweight carbon fiber or sturdy plastic materials for the frame, depending on durability and weight requirements.
Motors should match the drone’s intended function; high-thrust motors optimize speed, while efficient motors improve flight time. Propeller size and pitch also affect maneuverability and stability, making it essential to select them based on the chosen motors. For additional personalization, builders can add custom colors, designs, and graphics to the frame. By precisely tailoring each component, builders create drones that align closely with their vision.
Integrating Technology
Integrating technology into drone building elevates performance and enhances usability. Employing advanced flight controllers equipped with GPS and stabilization algorithms improves positioning and control. These controllers allow for features such as autonomous flight and waypoint navigation.
Additionally, incorporating telemetry systems enables real-time data transmission, providing vital information on battery status, altitude, and GPS coordinates. Enhancements like HD cameras and gimbals permit stable aerial photography, improving image quality during flight. Implementing smart features, such as obstacle avoidance sensors, strengthens safety while operating the drone. By seamlessly incorporating these technologies, builders maximize flight capabilities and enrich the overall experience.